
NEWS CENTER
Top 10 Resin Mistakes Made By Beginners
Top 10 Resin Mistakes Made By Beginners
Working with epoxy resin is simple, as long as you follow a few basic steps.
Although errors can occur from time to time, the good news is that an imperfect cure can almost always be prevented. There are a handful of reasons why mistakes might happen—we're going to go through each one, so you don't have to learn the hard way.
Here are the the top 10 most common beginners' mistakes when working with epoxy resin:
-
Inaccurate Measuring
Epoxy resin comes in 2 parts: a resin and a hardener. When these two parts are mixed according to directions, a chemical reaction occurs causing the liquid mixture to cure into a solid. Mistakes occur when this chemical reaction is disrupted or when best practices are not followed. Let's take a closer look at what to be aware of when working with resin to ensure a perfect result.
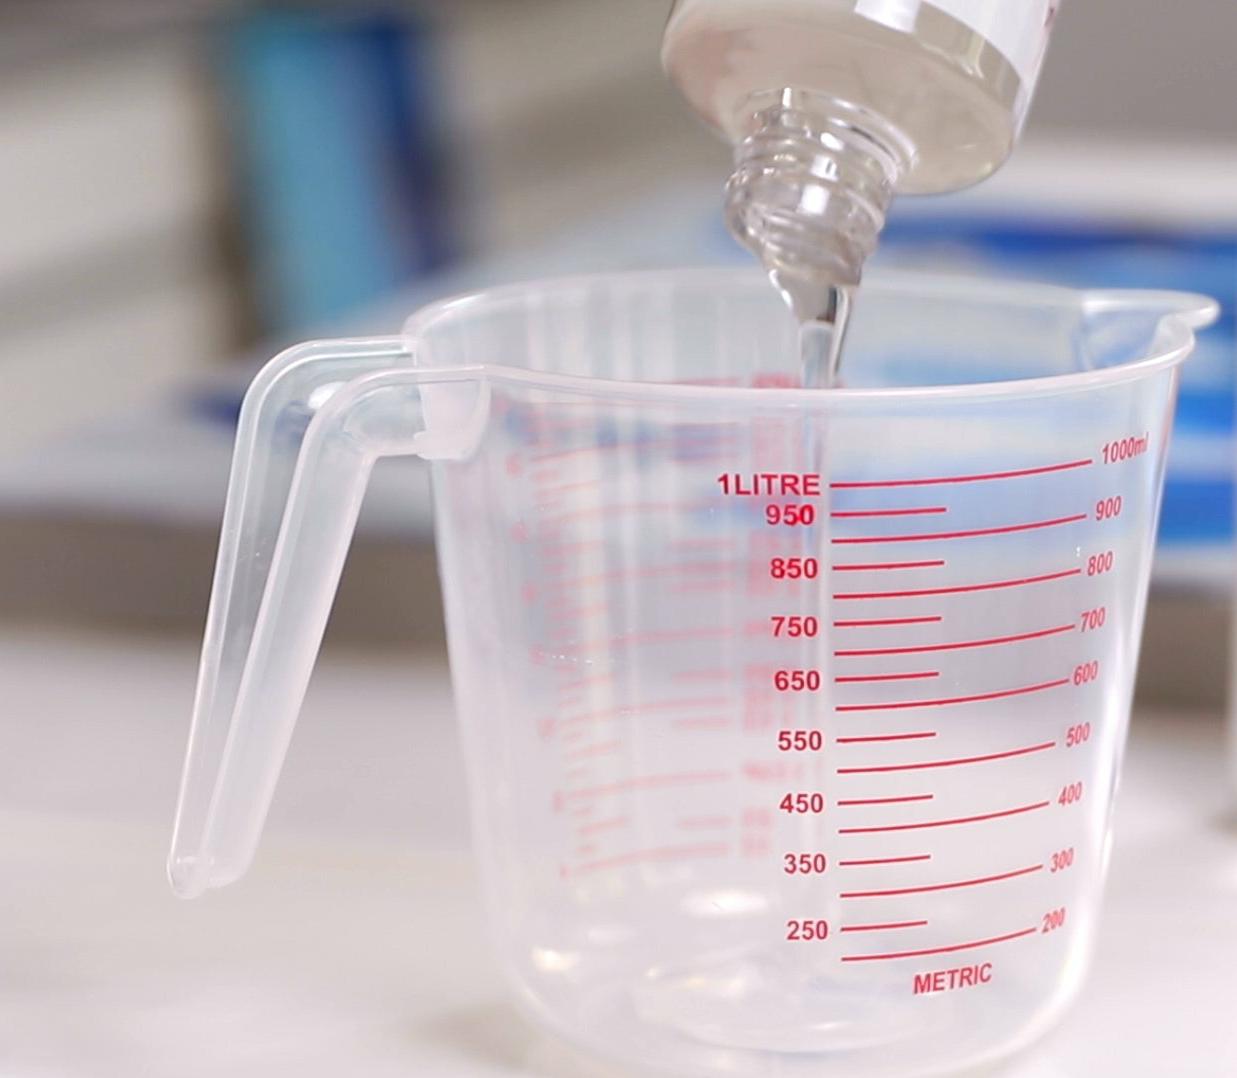
1. Not Measuring Accurately
Always measure according to the label directions: For example, is a 1:1 epoxy resin, requiring equal amounts of resin and hardener, measured by volume. For best results, use a measuring cup with clearly marked lines. If the measurements are off, the resin and hardener won't be able to react properly. For this reason, never add more hardener thinking it will make the resin cure faster or harder - you'll only end up with a sticky mess.
Never mix resin and hardener from different brands: some resins are formulated to be weighed and some are formulated to be measured by volume. A brand's resin and hardener are specifically formulated to work together and can't be reliably interchanged with product from another brand.
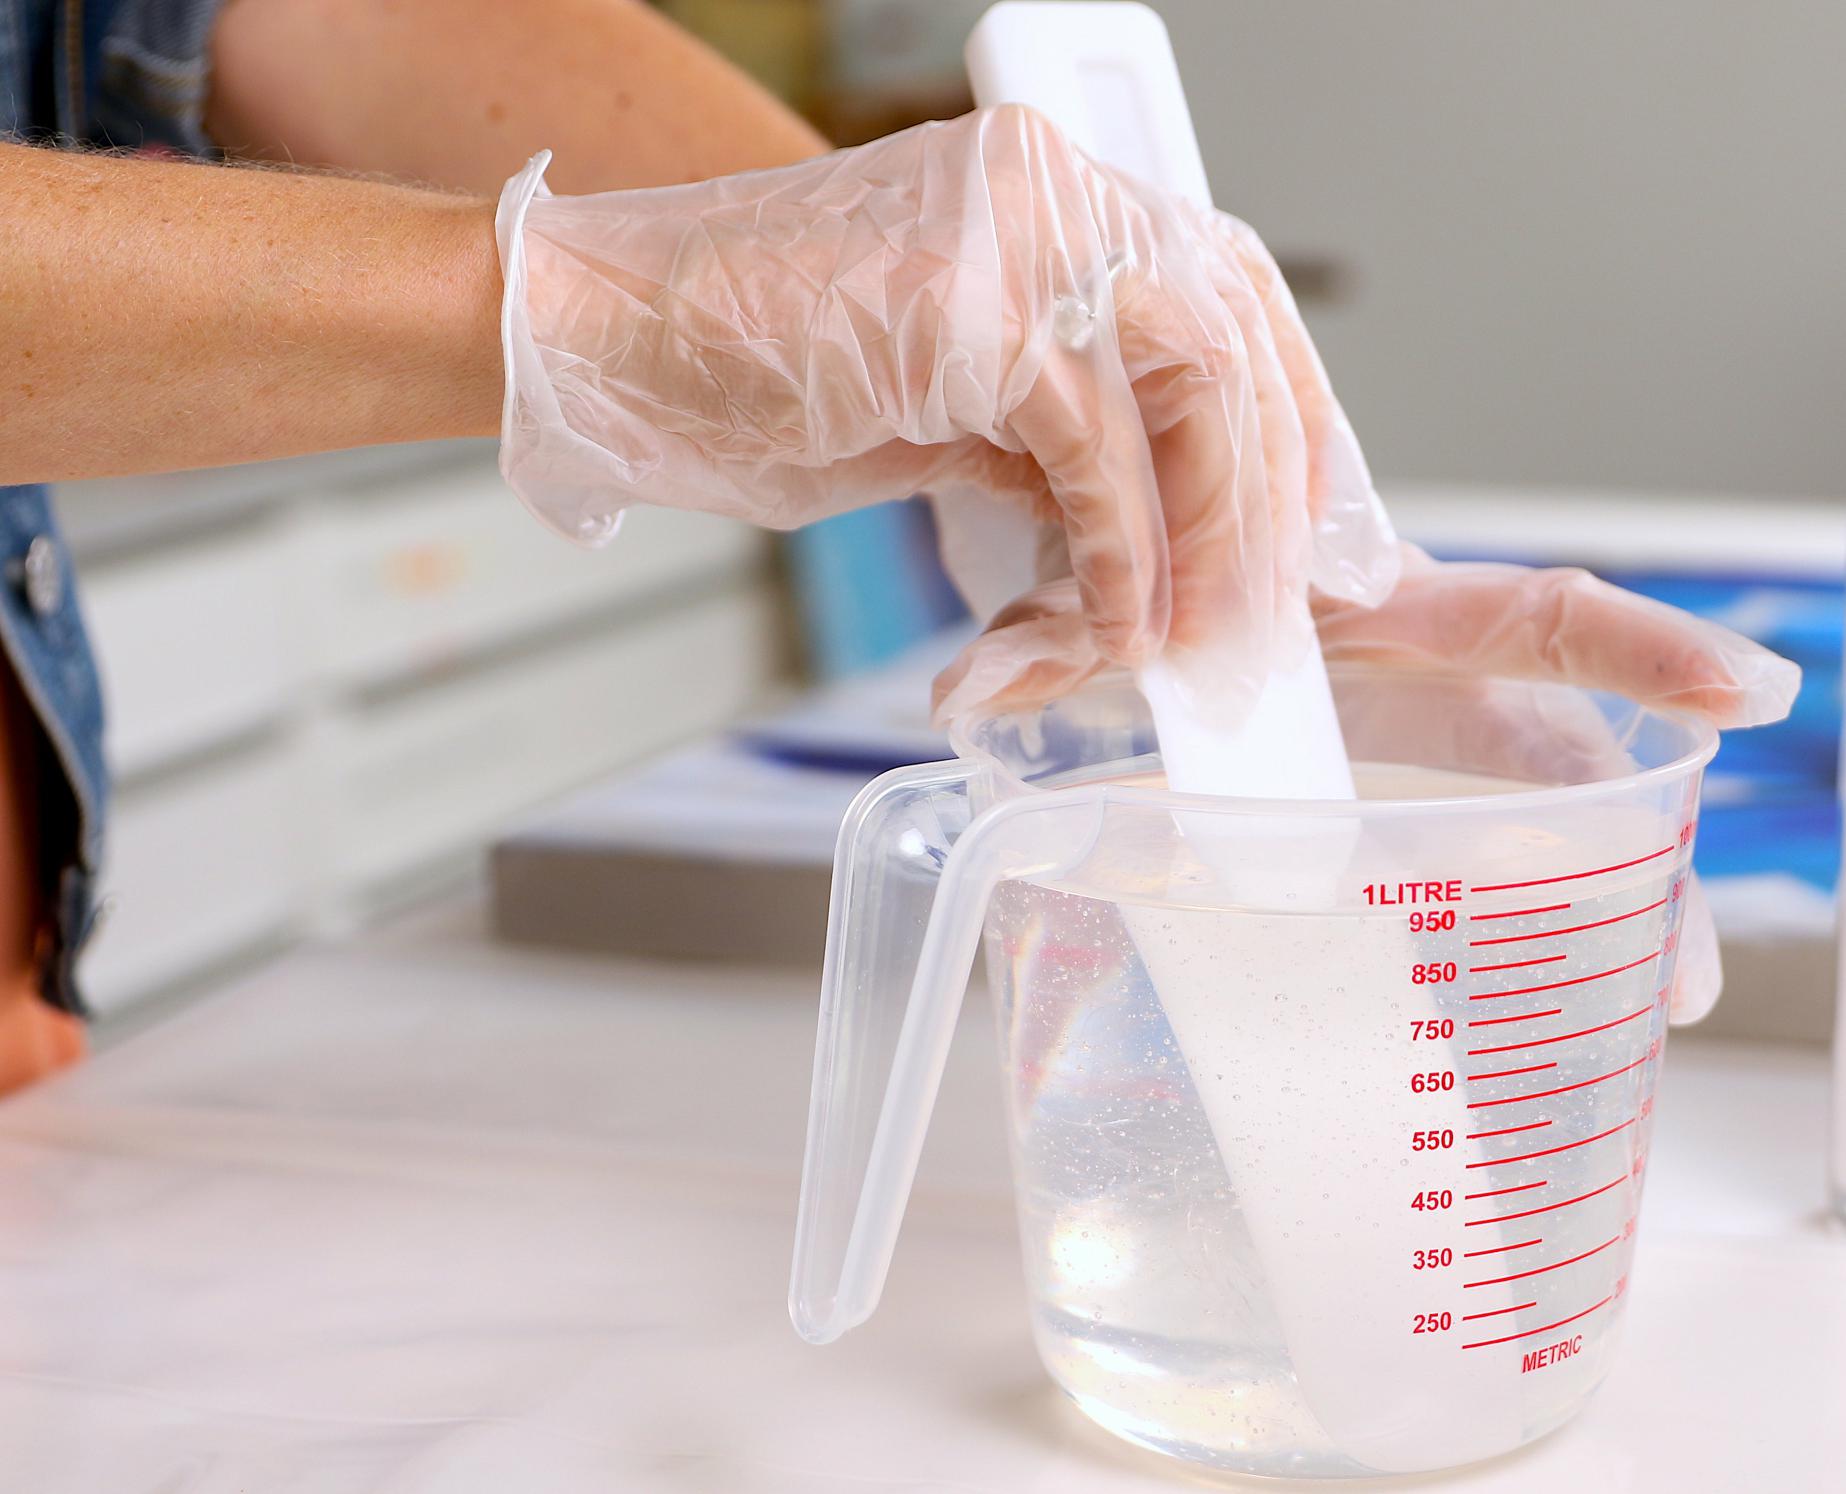
2. Not Mixing Thoroughly
Mix for at least 3 minutes: if the resin and hardener aren't blended well enough, the chemical reaction can't happen and mixture won't cure. Mix thoroughly, for at least 3 minutes. There's no need to whip your resin, however, or you'll end up with far more bubbles than necessary. Instead, stir slowly - you'll get some bubbles, but nothing a torch can't take care of.
Scrape the container when you mix, but not when you pour: it's so important to scrape the sides and the bottom of the container as you stir to ensure that as much product as possible is blended. However, when you're pouring your resin mixture onto your piece, resist the urge to scrape the sides of your mixing container as if you were scraping cake batter out of a bowl. There will almost always be some unmixed resin and hardener stuck to the sides and bottom of your container and if you scrape this out, you may end up with soft, sticky patches in your resin finish.
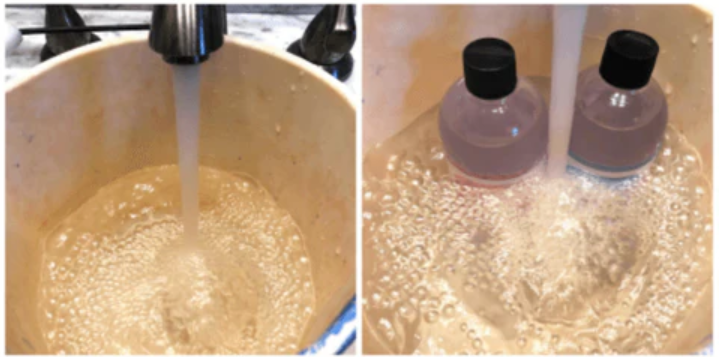
3. Temperature Is Too Cold
Your resin should be slightly warmer than room temperature: for a perfect cure, make sure your resin is at least room temperature. You'll know your resin is too cold when it is thick, hard to work with and has a cloudy appearance caused by thousands of micro bubbles. If your resin is cold, give the bottles a warm water bath (ensure the caps are on) before you measure and mix. In fact, you can get in the habit of doing a warm water bath every time, regardless of whether the bottles feel cold; it makes working with the resin easier in any case. Be aware that higher temperatures promote a faster cure so warming your resin may cut your work time short by about 10 minutes.
Your resin room should be warm and dry: just as resin should be slightly warmer than room temperature, your resin room should be 75-85 F or 24-30 C and should stay stable at that temperature for the first 24 hours of the cure. If the room is too cold or the temperature significantly drops, the resin may harden with surface imperfections or may not harden at all.
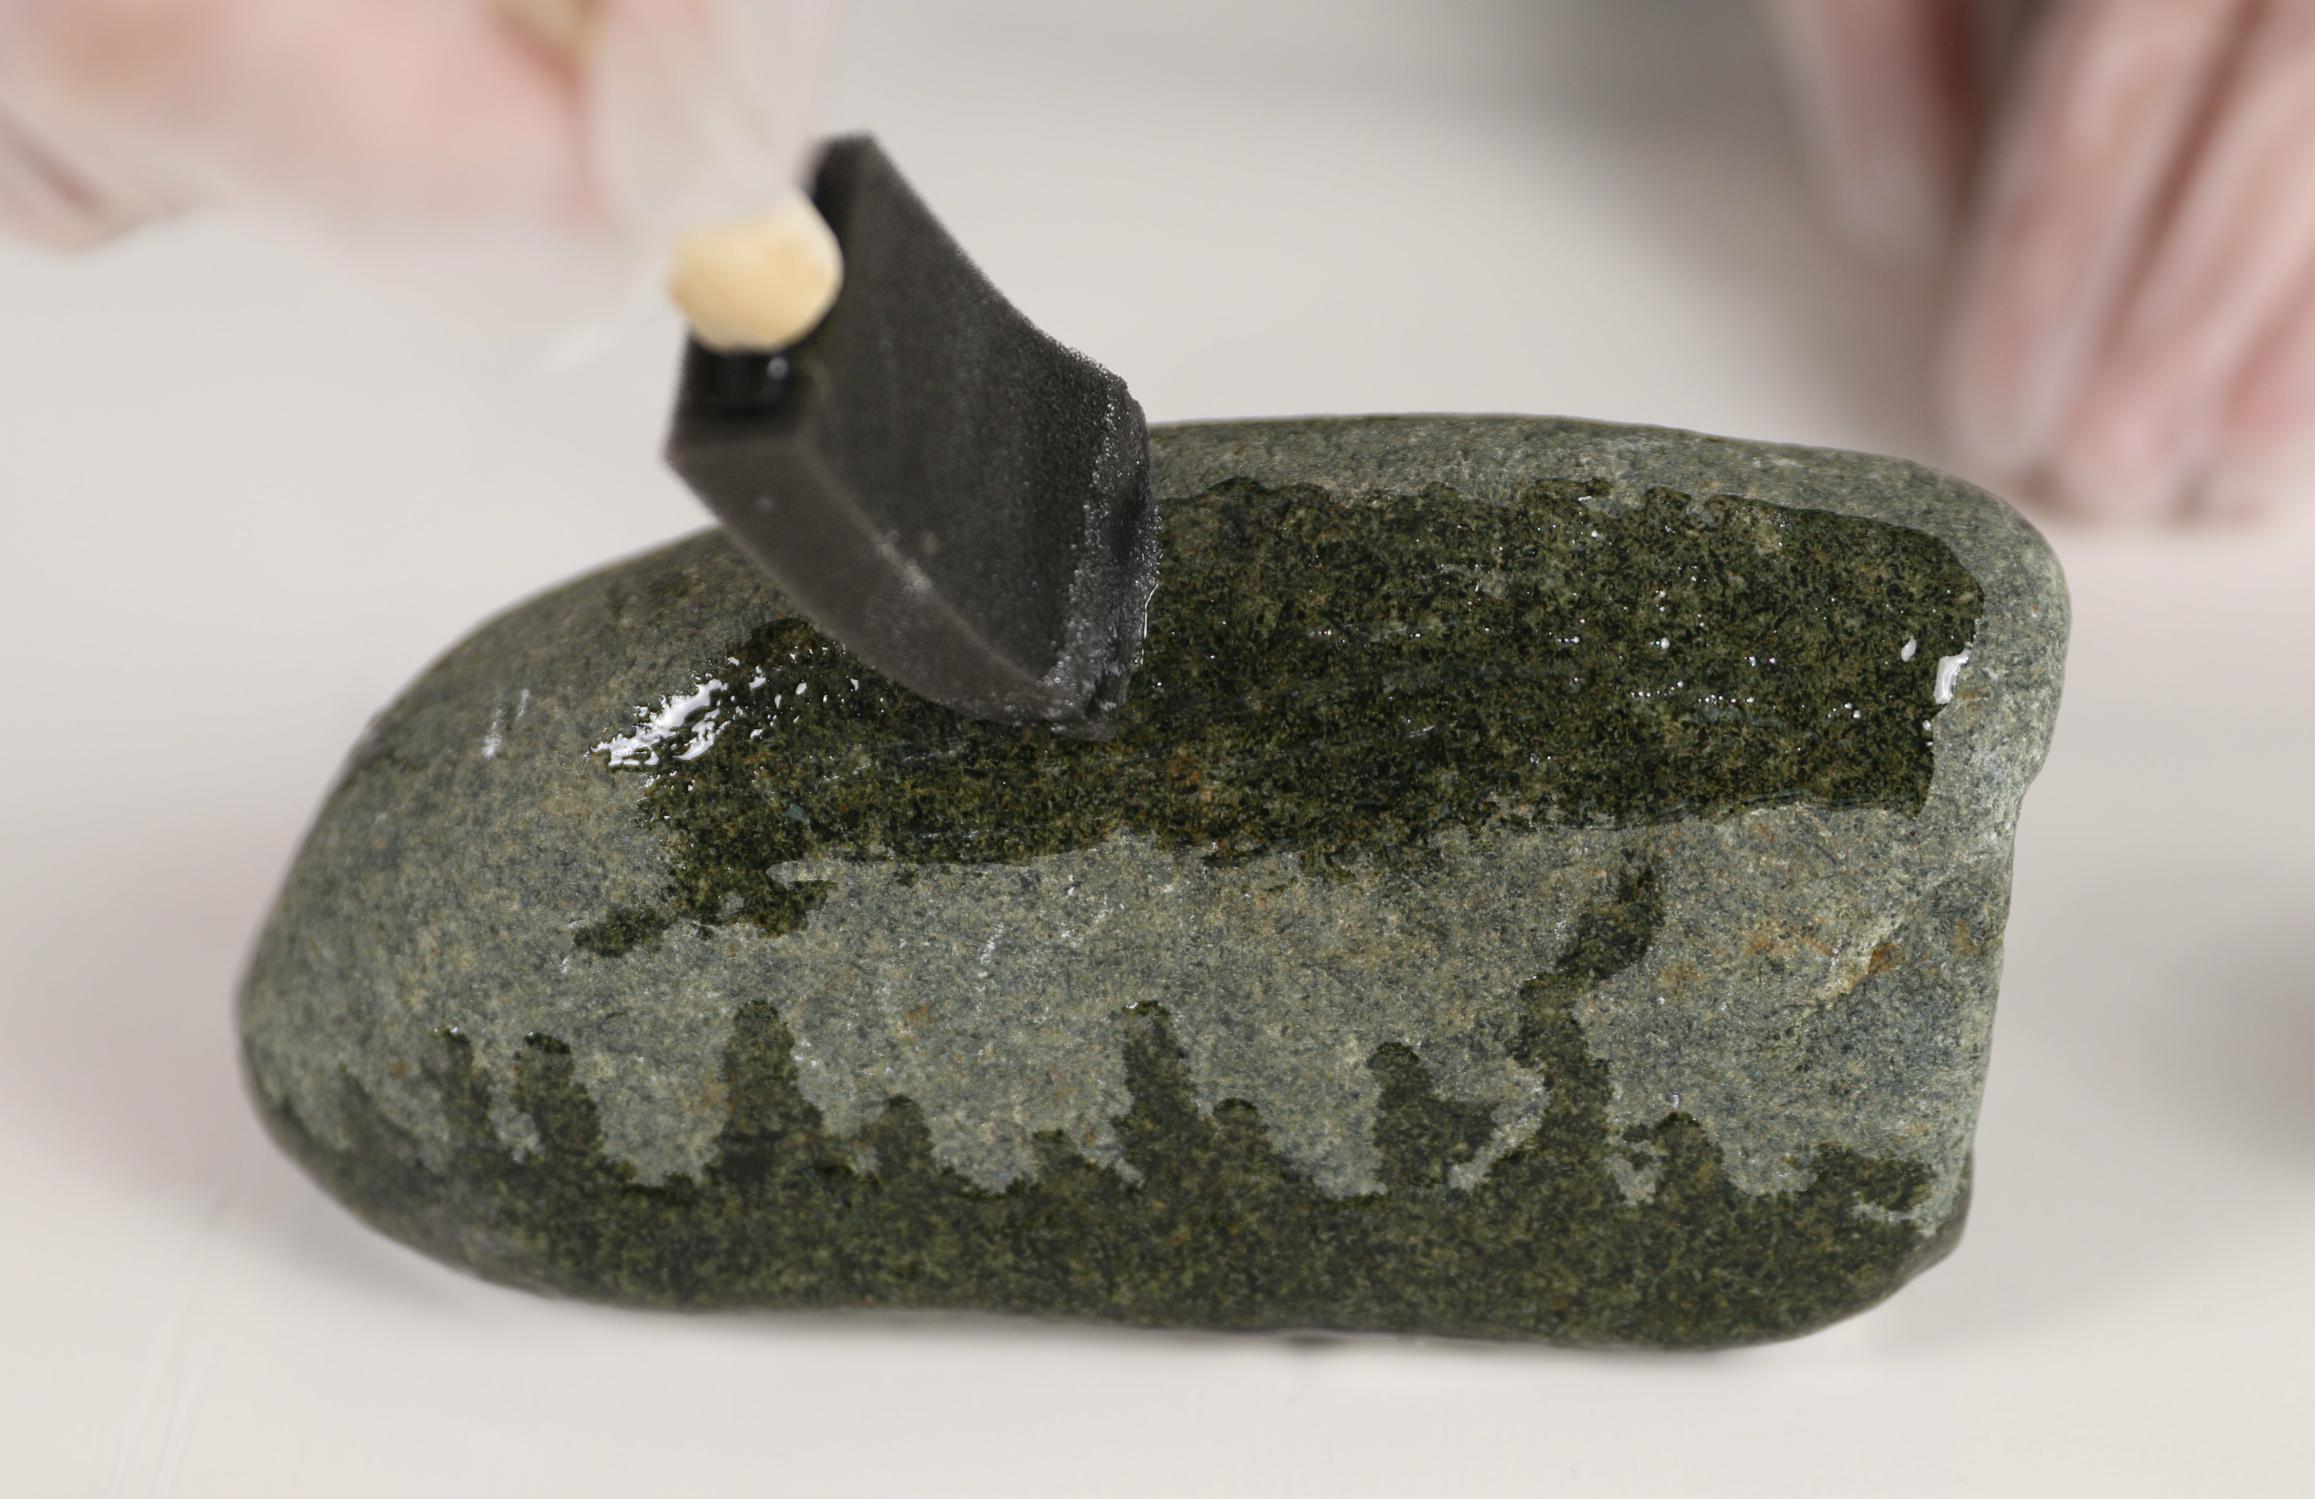
4. Not Testing First
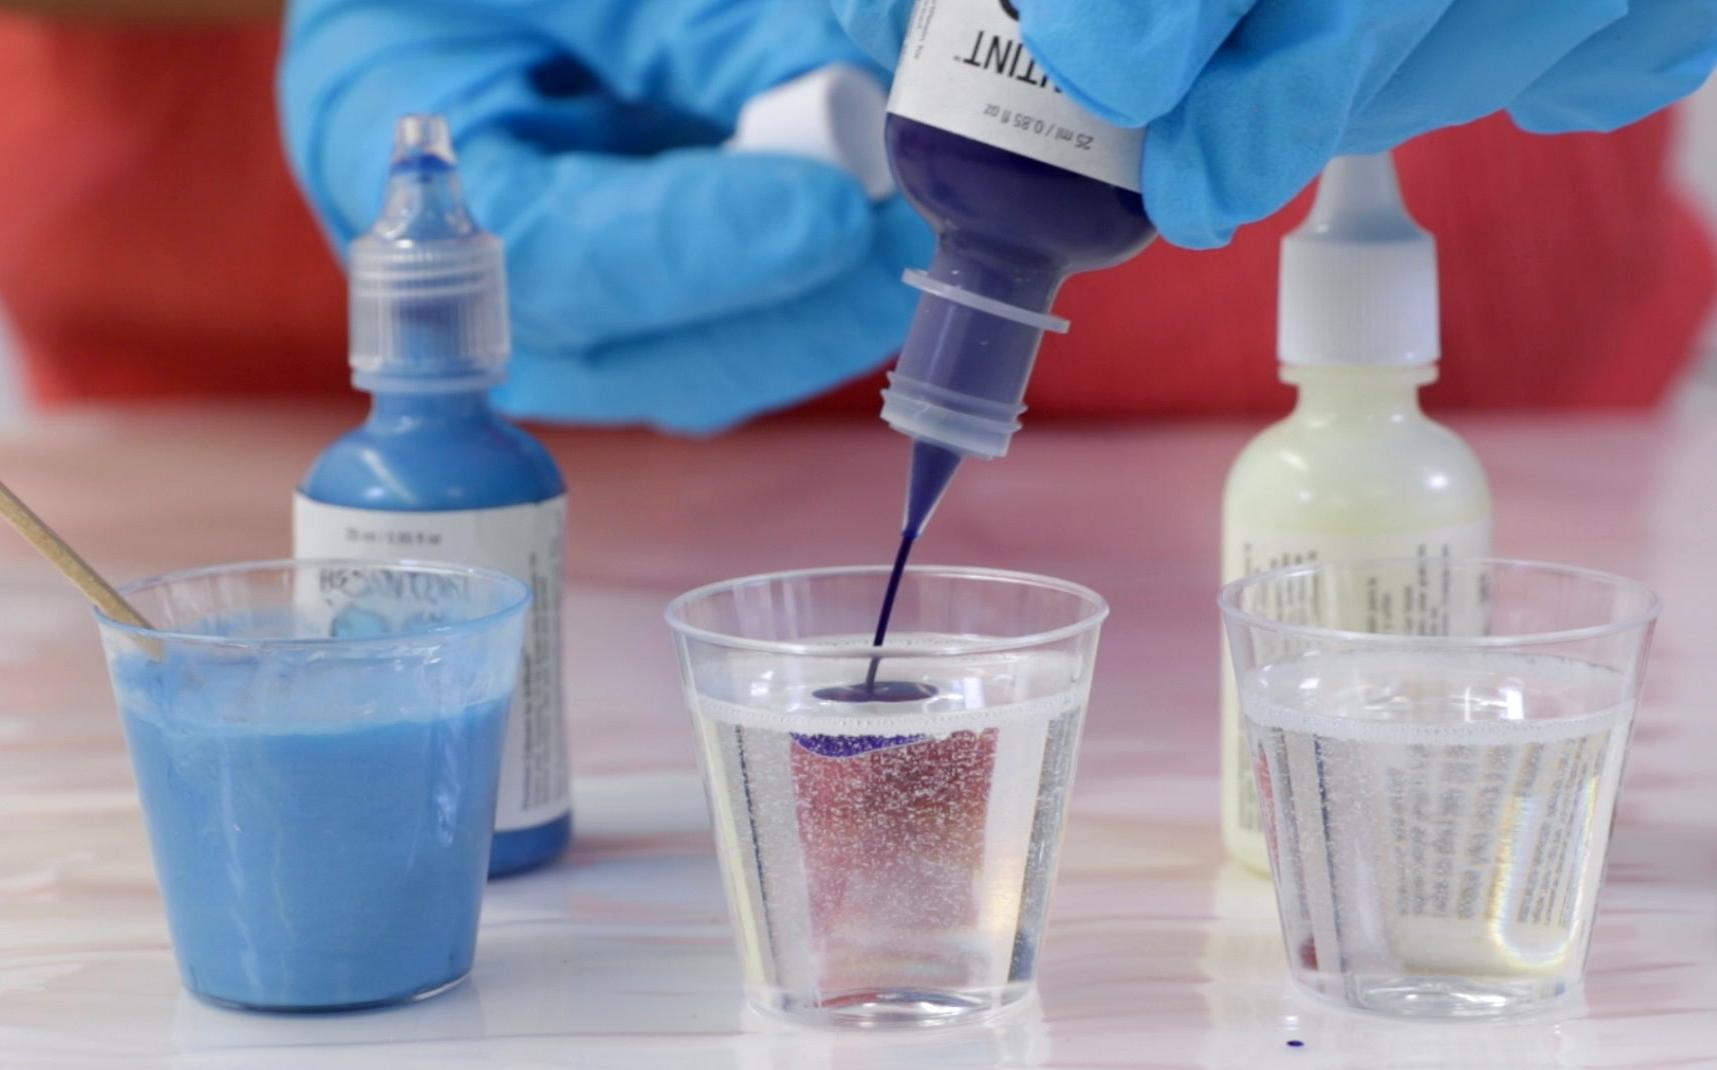
When in doubt, test it out: we always recommend doing a test run so you know exactly what to expect. Resin will make colors look darker, as they would when wet: to give you an idea, use a little water over top to see if the color changes. Soft, porous paper, matte photographs and fabric can absorb resin so it's always best to test first on a scrap piece. You may need to apply a sealant coat (or several) prior to resining.
Test colorants for compatibility: when added to resin, some colorants (particularly some types of acrylic paint) can actually trigger the resin to cure prematurely so we always suggest testing a small amount first to ensure there is no reaction.
5. Not Prepping Before You Resin
Prep your work surface: protect your work surface with a plastic sheet, line the floor with drop cloths and ensure your work space is clear of any dust or debris. Have your tools lined up and ready to go to avoid losing precious work time.
Seal your work if necessary: if your artwork involves charcoal, pastel, soft paper or anything else that may bleed or absorb wet resin, seal your piece with a sealant appropriate for your artwork. Similarly, organic materials such as wood and paper can release trapped air into the resin (in the form of bubbles) and may also benefit from a sealant.
Prop up, level and tape: prop your piece up and off your work surface with plastic stands to prevent it sticking to your work surface. Use a level to ensure your piece is perfectly horizontal for an even resin coat. If you plan to resin the sides of your artwork, tape off the bottom with painter's tape to catch any drips.
6. Adding Too Much Colorant
Too much colorant can disrupt the resin cure: whether you use a liquid or powder colorant, adding too much will prevent your resin from curing. A general rule of thumb is to use 6% to the total combined volume of resin and hardener. For example, 50ml resin + 50 ml hardener = 100 ml total requires no more than 6 ml of colorant. You generally don't need much colorant so always start with less, and add more if necessary.
7. Letting Resin Sit Too Long After Mixing
Pour your resin after mixing: after you've mixed your resin and hardener, you may notice that the mixture feels warm. This is because the chemical reaction that cures the two parts generates heat. In fact, unless the mixture is spread out over a larger surface area, it will continue to heat up and can even cure prematurely in the cup if allowed to sit too long. Have your workstation, tools and artwork prepped before you start so that you're ready to pour as soon as you've finished mixing your resin.
8. Dust In Your Cured Resin
Use a dust cover: there's nothing worse than checking your piece the next day only to find that dust has cured right into the resin. The best way to protect your resined work from dust while it cures is by placing a cardboard box or a plastic container over top. Before you resin, wipe down your work station, any overhead lights and spritz the air with water in a spray bottle to help reduce dust in the air. Keep your cover ready to go so that once you've finished torching, you don't have to leave your freshly resined piece exposed while you look for one.
9. Bubbles In Your Cured Resin
Use a torch to remove bubbles: a quick pass with a flame torch is the best way to get a clear, glassy resin finish. A torch is far more effective than a heat gun which can blow your resin around and introduce dust into your resin mixture. The only time a heat gun is preferable to a torch is when working with silicone molds as the flame can damage the mold.
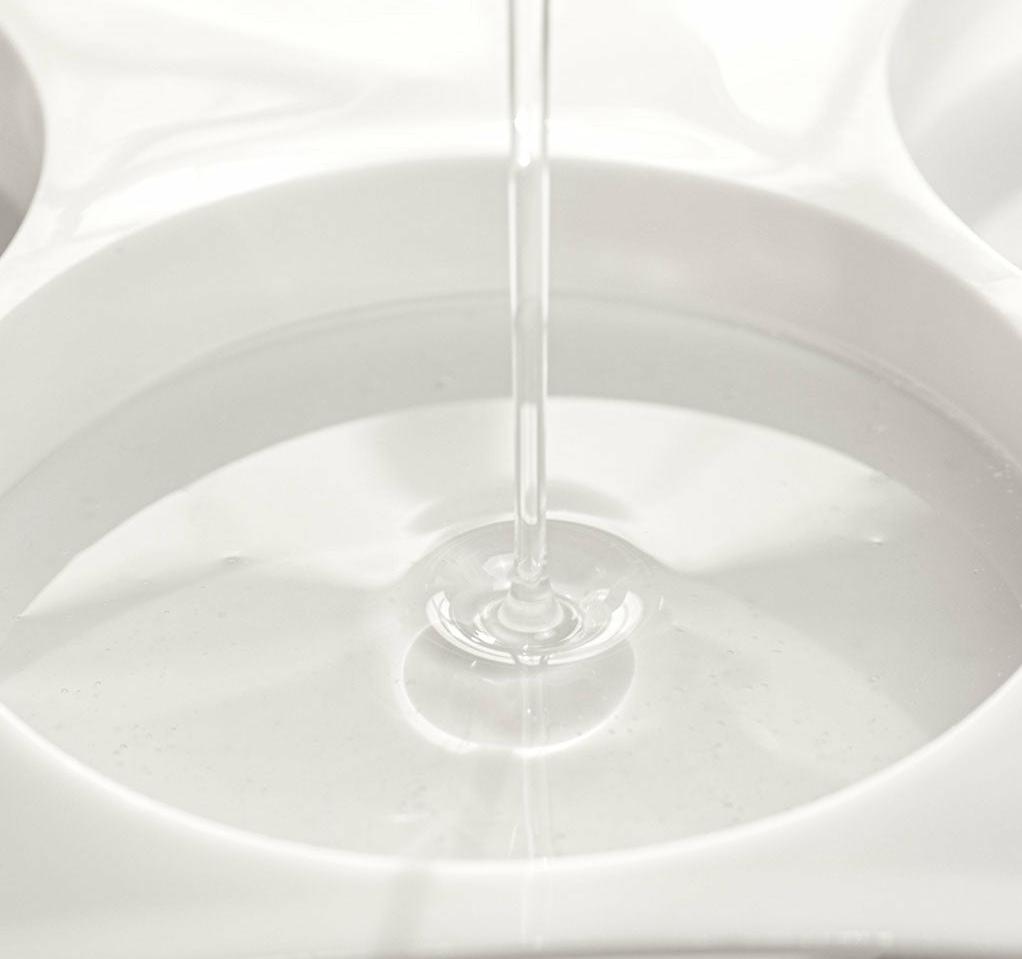
Don't pour too thick: if your resin was formulated as a surface coating, you may find bubbles in your cured piece if you pour it too thick, say in a mold, for example. There are a couple of ways around this, however. You can pour in multiple thin layers, approximately an 1/8" at a time, until you reach the thickness you desire. Or, you can warm your resin in a water bath prior to measuring and mixing - this thins the consistency of the resin, making it easier for bubbles to escape to the surface. Make sure you always stir your resin slowly to avoid introducing more bubbles.
10. Over-Torching
When it comes to torching, less is more: over-torching your resin is possible when the flame is held too closely to the surface or it's held too long in one spot. Over-torching can result in dimples or ripples and can even cause the resin to yellow prematurely. Over-torching is easily prevented: hold the torch a few inches away from the surface so that the flame is just kissing the resin. You'll see those bubbles disappear right away - if you don't, you can move in a tiny bit closer. Keep your torch moving in a back and forth fashion across the entire surface, as if you're ironing clothes.

There you have it! Follow these best practices and you'll have no difficulty using and applying Resin to your project.
For more infos about craft resin products, please login: https://www.tdyldiy.com
CATEGORIES
LATEST NEWS
- OEM / ODM - Shengyuhua Tech Providing One Stop Shopping Bran2023-07-30
- Factory Professional Custom Large Silicone Molds for Resin2023-07-30
- Shengyuhua UV-LED Curing Resin Hot selling on JP Amazon/Raku2023-07-31
- Difference Between Tin-Cure and Platinum-Cure Silicone Rubbe2023-08-20
- Silicone Putty - - Easy Mold Making Putty2022-10-31
CONTACT US
Contact: Hatty Gong
Phone: +8613348399109
Tel: +8613338468109
Email: sales@tdyldiy.com
Add: Building 27, Longxiangli, Longhua Road, Siming District, 361001, Xiamen City, Fujian Province, CN
 Shengyuhua01